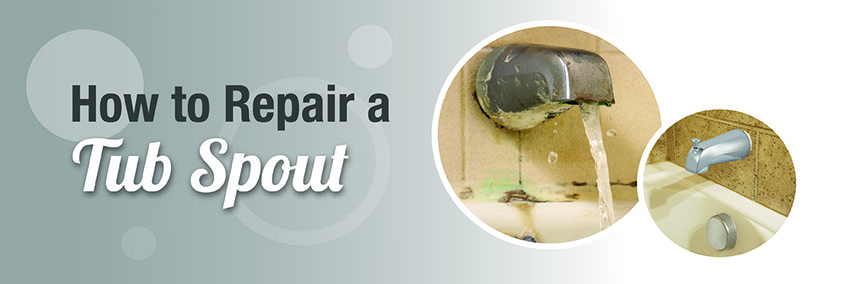
How to Repair a Tub Spout
Turning on your shower should be simple. But if water keeps dripping from the tub spout after switching to the shower, your shower diverter may be worn out or damaged.
A faulty diverter can waste water, reduce shower pressure, and eventually lead to bigger plumbing issues if left unrepaired. The good news is that repairing a tub spout or shower diverter is usually a quick and affordable DIY fix.
With the right replacement parts and a few basic tools, most homeowners can complete the repair in less than an hour.
Jump To Section
Shower Diverter
What Does a Shower Diverter Do?
A shower diverter controls the flow of water between the bathtub spout and the showerhead. When you pull the knob on the tub spout or turn a diverter handle, the valve redirects water upward to the shower.
Over time, internal washers, seals, and moving parts can wear down, preventing the diverter from sealing properly.
You’ll commonly find three types of diverters:
Tub spout diverter with a pull-up knob
Pull-down diverter under the spout opening
Handle diverter valve located between faucet handles
When any style fails, water may continue flowing from the tub spout while the shower is running.
Warning Signs
Common Shower Diverter Problems
A failing diverter often shows clear warning signs before it stops working completely. Catching the issue early can help prevent water waste and avoid more expensive repairs later.
Common shower diverter problems include:
Water continuing to run from the tub spout during showers
Low water pressure from the showerhead
Difficulty switching between tub and shower modes
Leaks around the tub spout or wall
Worn or stuck diverter knob
These problems are usually caused by worn washers, damaged seals, mineral buildup, or aging internal components.
Handle Diverter Repair
How to Repair a Handle Diverter Valve
If your tub and shower setup uses a separate diverter handle or valve, replacing the internal stem and washers can often restore proper water flow.
Tub Spout Repair
How to Repair a Tub Spout Diverter
Tub spout diverters are one of the most common shower diverter styles. If the pull-up or pull-down knob no longer redirects water properly, replacing the internal gate and washer may solve the problem.
Repair or Replace
When Should You Replace a Tub Spout?
Sometimes replacing the entire tub spout is more effective than repairing individual parts.
You may want to replace the tub spout if you notice:
Heavy corrosion or rust
Cracks in the spout body
Persistent leaks after repair
Diverter failure that keeps returning
Outdated or worn finishes
Upgrading to a new tub spout can improve both performance and the overall appearance of your bathroom.
Repair Parts
Make Installation Easier with the Right Parts
Using the right repair parts can make the job faster, simpler, and more reliable.
Danco offers solutions designed to help homeowners complete tub spout and shower diverter repairs with confidence, including:
Universal replacement parts
Durable tub spouts in multiple finishes
Easy-to-install repair kits
These DIY-friendly solutions help save time and avoid the cost of replacing the entire fixture.
Maintenance Tips
Quick Tips to Extend Diverter Life
Routine maintenance can help keep your shower diverter working properly for longer.
To help prevent future problems:
Release the diverter before turning off the water
Clean mineral buildup regularly
Replace worn washers early
Check for leaks around the tub spout
Avoid forcing stuck diverter knobs
Simple maintenance now can help prevent bigger plumbing repairs later.
Get It Done
Fix It Today and Save
Repairing a tub spout or shower diverter is a simple DIY plumbing fix that can improve water pressure, stop leaks, and restore proper shower performance.
With easy-to-install replacement parts and universal-fit solutions, you can complete the repair quickly and avoid unnecessary replacement costs.
Danco makes it easy to fix common bathroom plumbing problems with practical solutions built to last.
No plumber needed
Fast and affordable repair
DIY-friendly installation
Built-to-last replacement parts
FAQs
Frequently Asked Questions
Why is water still coming from my tub spout when the shower is on?
This usually means the shower diverter is worn out or not sealing properly. Replacing the diverter washer, gate, or stem can often fix the issue.
Can I repair a tub spout myself?
Yes. Most tub spout and diverter repairs are simple DIY projects that require only basic tools and replacement parts.
How long does it take to replace a shower diverter?
Most shower diverter repairs can be completed in 30 minutes to an hour, depending on the type of diverter and condition of the parts.
Do I need to replace the entire tub spout?
Not always. In many cases, replacing the internal diverter parts or washers is enough. However, heavily corroded or damaged spouts should usually be replaced.
Why is my shower pressure low after switching from the tub?
A worn or partially blocked diverter can prevent water from fully reaching the showerhead, causing low pressure.