Step-by-step instructions
Replacing a Tub Spout is an easy project that you can definitely handle yourself. It’s a great way to upgrade the look of your bathroom or to repair a spout that has seen better days. There are several different types of Tub Spouts. Here we are going to detail how to replace a ½” Copper Pipe Slip Connection, which is the most popular type of connection. For other connections, be sure to follow the manufacturer’s directions for installing your Tub Spout. Tools and supplies required: Phillips Screwdriver, Adjustable Wrench, Sandpaper (not included), Pipe Thread Tape (included)1
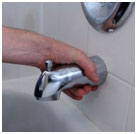
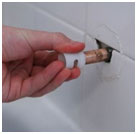
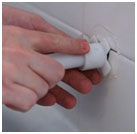
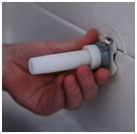
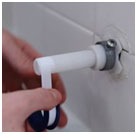
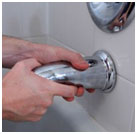
Turning counterclockwise, remove the old Tub Spout. If your Tub Spout has a set screw holding it in place, be sure to remove that prior to rotating the Spout off. If your Tub Spout is hard to remove, you may need to use the end of a hammer or large wrench to help loosen while turning. Just insert the handle into the opening of the Tub Spout for leverage.
2
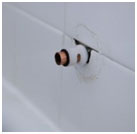
Measure the Stub Out Nipple length from the wall surface to the end of the Pipe. The Stub Out Nipple must be between 2” and 3” long. The end of the Stub Out Nipple should be even.
3
Use sandpaper to remove burrs and sharp edges from the end of pipe and to polish copper pipe surface to a smooth finish.
4
Unthread and remove Adapter with pre installed screw and Compression Washer from inside the back end of Extension Nipple. Then, slide Adapter with pre installed screw onto copper pipe with the threads facing away from the wall. The screw should be facing upward.
5
Apply a thin layer of silicone grease to the stub out nipple, then insert compression washer.
6
Thread (by hand) the Extension Nipple by turning it clockwise onto the Extension Nipple Adapter. This should be about 3.5 to 4 turns. Use an adjustable wrench or 1” wrench on the flat sides of the adapter to get an additional ½ turn. Note: it is okay to see a small gap of around 1/16" between the adapter and extension nipple.
7
Tighten the Adapter screw with Phillips screwdriver. Stop tightening when the screw head is near flush with the adapter. This would happen when meeting resistance on the screwdriver as torque is applied. Once the screw is tightened, the assembly should be fixed and unable to rotate on the copper pipe.
8
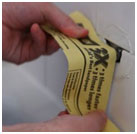
Apply a minimum 4 to 5 rounds of included thread tape onto the Extension Nipple external threads.
9
Thread (by hand) the tub spout by turning it clockwise onto the external threads of the Extension Nipple until the back of the tub spout meets the wall and the spout opening is pointed downward. Note: if there is a gap between the back of the tub spout and the tub wall, you may need to push the adapter assembly further back towards the wall. Loosen the Adapter screw and push the assembly towards the wall as needed. Then repeat steps 7 through 9.
10
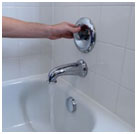
Turn water on and test for leaks. If water is leaking from the rear of the Tub Spout, reinstall, as this could damage your wall.













Reviews
There are no reviews yet.