Toilet Handle Replacement 101
A toilet handle is easy to overlook until you press it and nothing happens. If your toilet handle is loose, sticking, corroded, broken, or simply outdated, replacing it is a straightforward DIY toilet repair that can restore a smooth flush and give your bathroom a quick update.
The toilet handle connects to a lever arm inside the tank. When you press the handle, the arm lifts the flapper chain, raising the toilet flapper and releasing water from the tank into the bowl. If the handle, lever arm, or chain is not working correctly, that simple flushing sequence can be interrupted.
Ready to fix the problem? This guide explains how to choose the right toilet handle replacement and install it step by step.
Signs You May Need a Toilet Handle Replacement
A replacement toilet handle may be the right fix if:
- The handle feels loose or wobbly.
- The handle sticks after you press it.
- The toilet doesn’t flush when you press the handle.
- The lever arm is cracked, bent, or corroded.
- The handle looks worn or no longer matches your bathroom.
Before replacing the handle, open the toilet tank and make sure the flapper chain has not simply come loose. If the handle or tank lever is damaged, a new toilet handle replacement can provide a simple, affordable fix.
Choosing the Right Replacement Toilet Handle
Before buying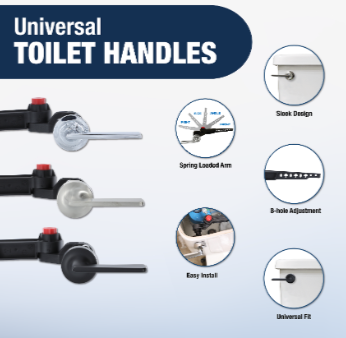 a new handle, check where the existing handle is mounted on the toilet tank. Toilet tank handles may be installed in several positions, including:
- Left-front or right-front
- Side-mounted
- Angled
- Side-vertical
The mounting position affects how the toilet tank lever sits and moves inside the tank, so choosing the right fit is an important part of the repair.
A universal, highly adjustable option can simplify the process. The Danco Universal Toilet Handle accommodates right- or left-front, side, angled, and side-vertical mounting positions. Its eight-hole adjustment, 358-degree handle/elbow adjustment, and 205-degree arm adjustment make it easy to configure the handle and lever for a wide range of toilet tanks without cutting or bending the lever arm.
Once you have the correct replacement toilet handle, follow these steps to install it.
How to Replace a Toilet Handle
Step 1: Remove the Existing Toilet Handle and Lever Arm
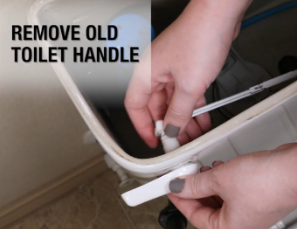 Carefully remove the toilet tank lid and place it on a stable, protected surface.
Inside the tank, locate the lever arm connected to the back of the toilet handle. The flapper chain attaches to this arm. Disconnect the chain and note which hole it uses for reference during installation.
Next, loosen the locknut that holds the existing handle assembly in place. Remove the toilet handle and lever arm through the mounting hole in the tank.
DIY Tip: Many toilet handle locknuts use reverse, or left-hand, threading. If the nut does not loosen in the direction you expect, review the product instructions before applying more force.
Step 2: Identify the Toilet Handle Position
Check your toilet’s mounting configuration. Is the handle located on the left front, right front, side, angled section, or vertical side of the tank?
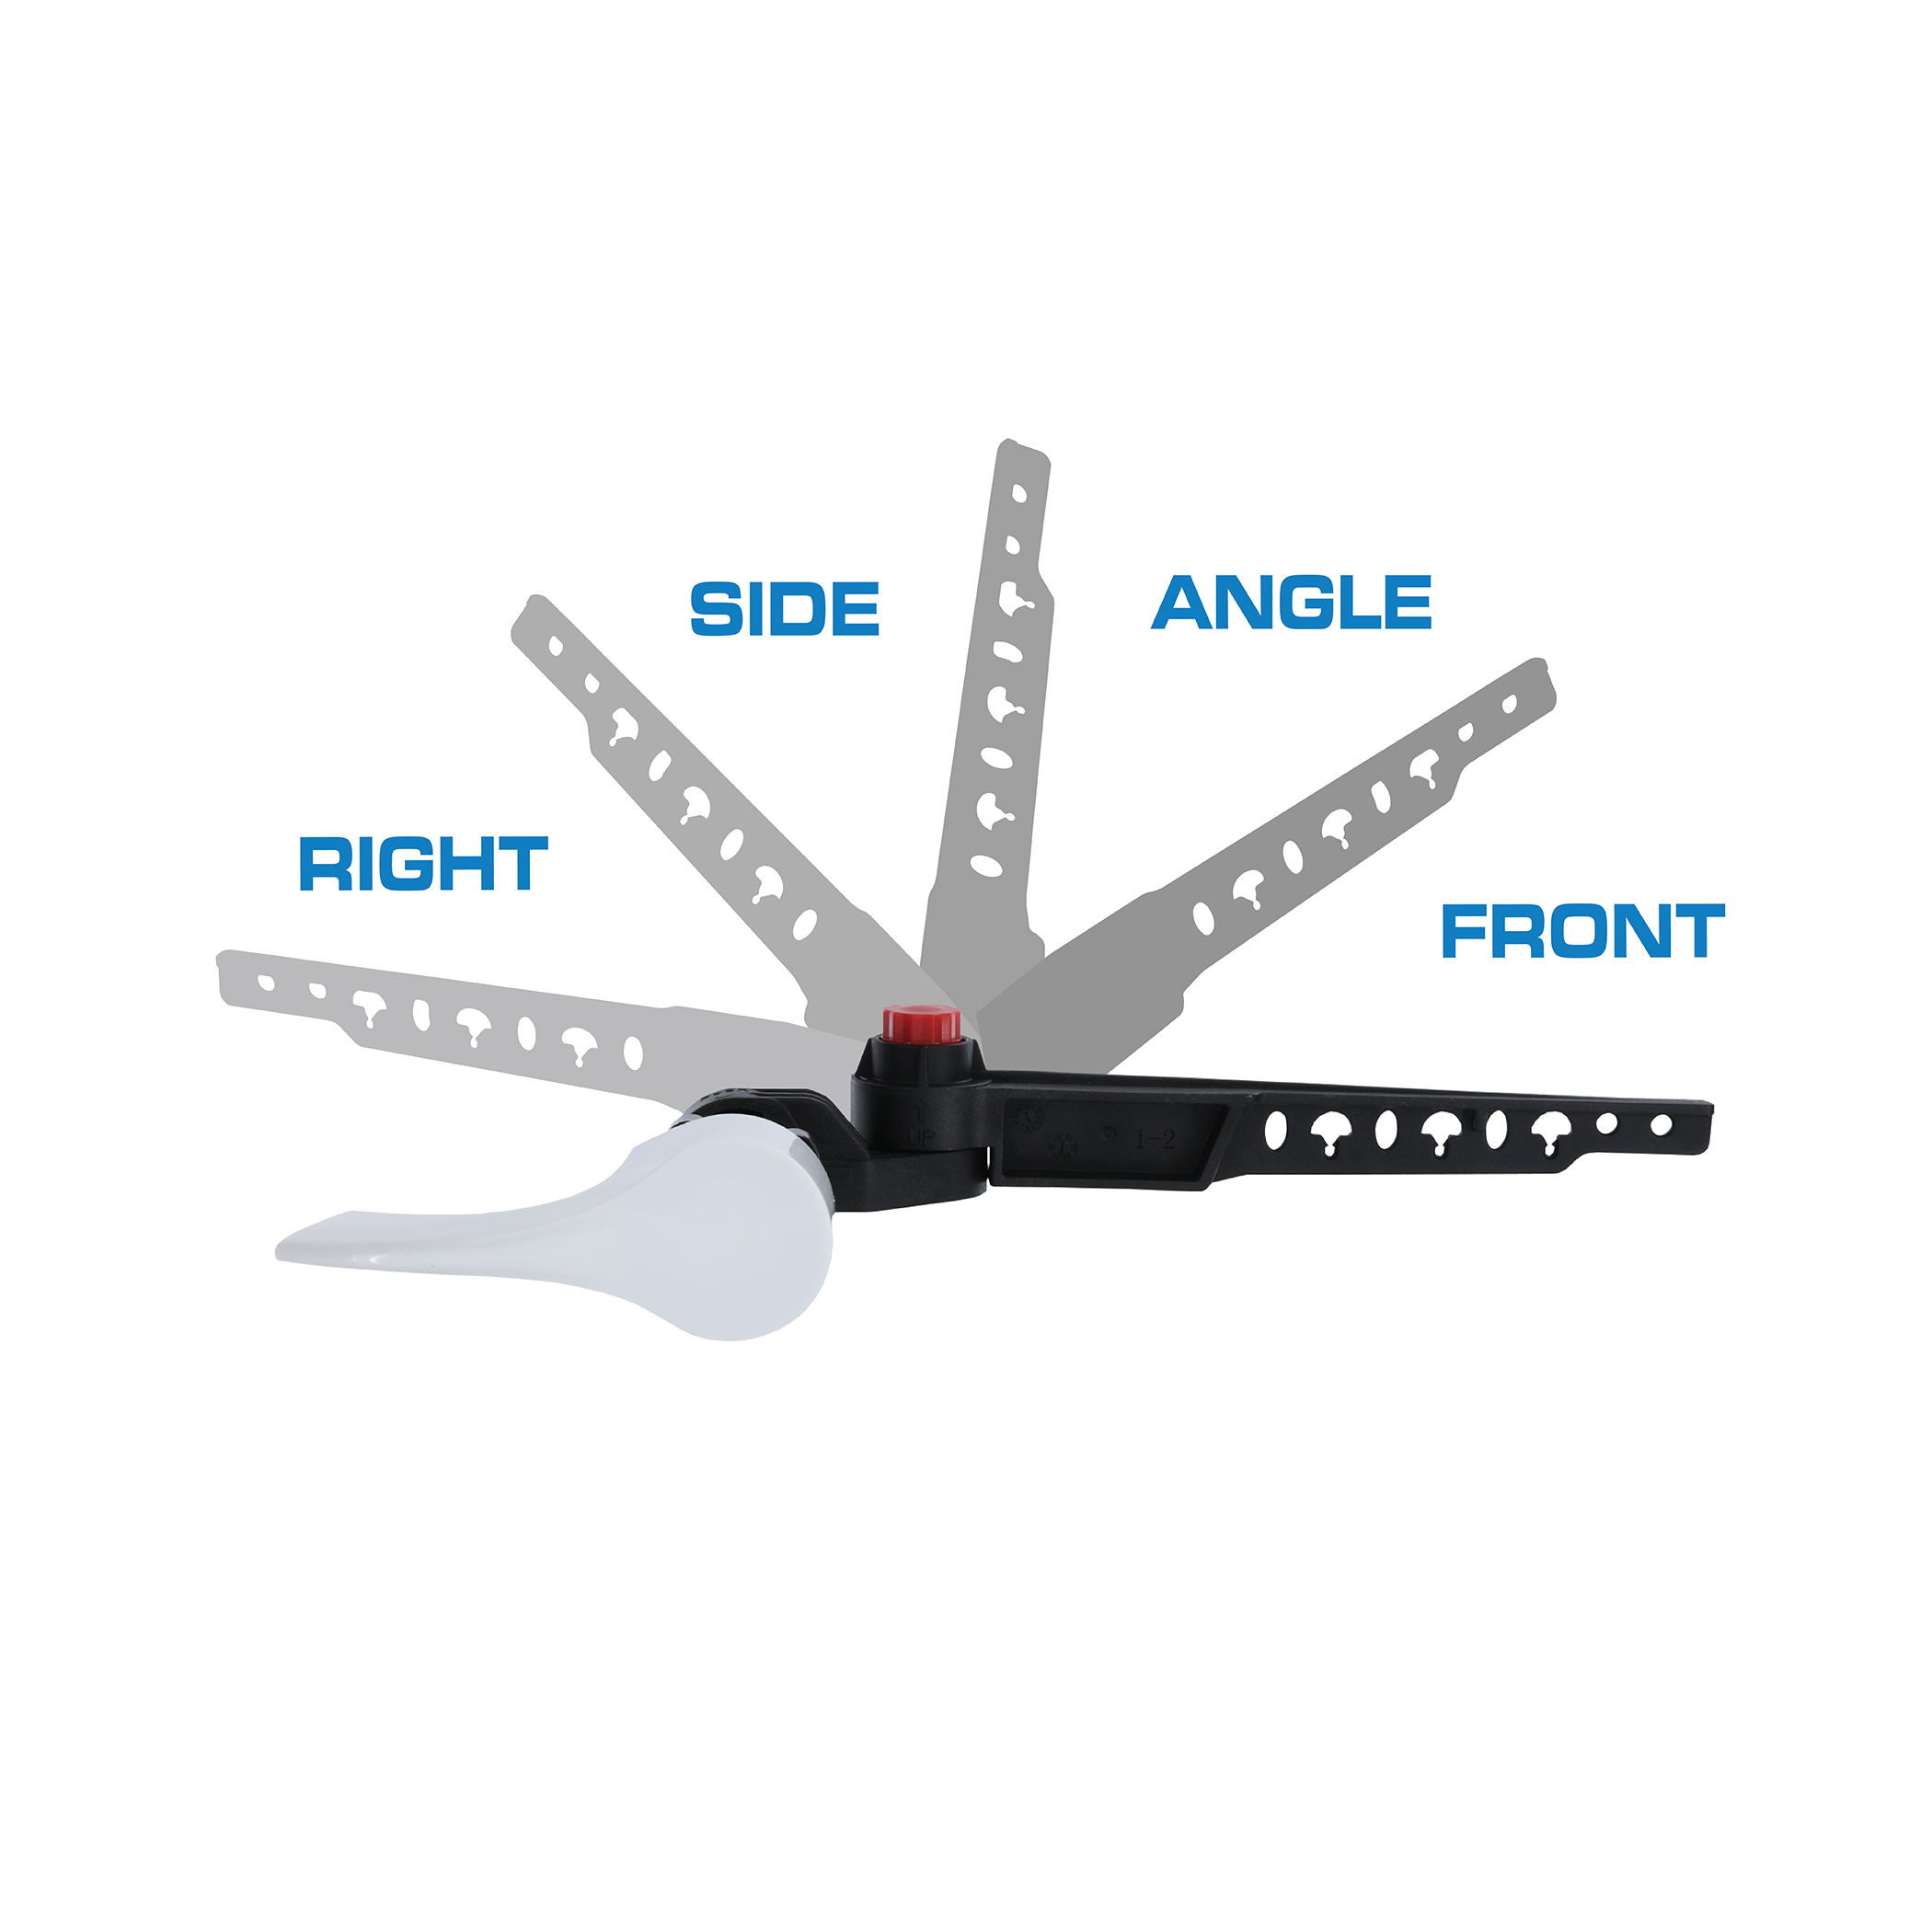 This position determines how the replacement toilet tank lever should sit inside the tank. An adjustable universal toilet handle fits several common configurations and removes the guesswork of finding a compatible replacement.
Step 3: Prepare the New Toilet Handle
Before inserting the new handle, set the assembly to match your toilet’s mounting position.
For the Danco Toilet Tank Lever Replacement Handle, you can separate the lever arm from the handle mechanism for proper positioning. With the handle facing you, push the lever arm inward and rotate it 90 degrees until the alignment arrows line up with the guides. Then separate the arm from the handle mechanism.
Remove the locknut from the handle mechanism as directed in the installation instructions. Remember that the locknut uses a left-hand thread.
Depending on whether your toilet has a front, side, angled, or vertical mounting position, you may need to adjust the handle mount before installation.
Step 4: Insert and Secure the Replacement Handle
Insert the lever mount through the existing opening in the toilet tank. Make sure the exterior handle is facing the correct direction.
From inside the tank, reinstall the locknut on the lever mount, with the flat side facing the handle. Tighten it by hand until the handle is secure.
Do not overtighten the locknut. It should hold the handle firmly without placing unnecessary stress on the toilet tank or handle assembly.
Step 5: Reattach and Position the Lever Arm
Reconnect the lever arm to the handle assembly inside the tank.
For the Danco handle, position the arm perpendicular to the handle and align the arm’s arrows with the corresponding notches on the lever mount. Slide the arm into place, then twist it to lock the components together.
Position the toilet tank lever so it can move freely. The arm should lift the flapper chain without hitting the tank wall, fill valve, tank lid, or other internal parts.
Step 6: Adjust the Toilet Tank Lever Arm
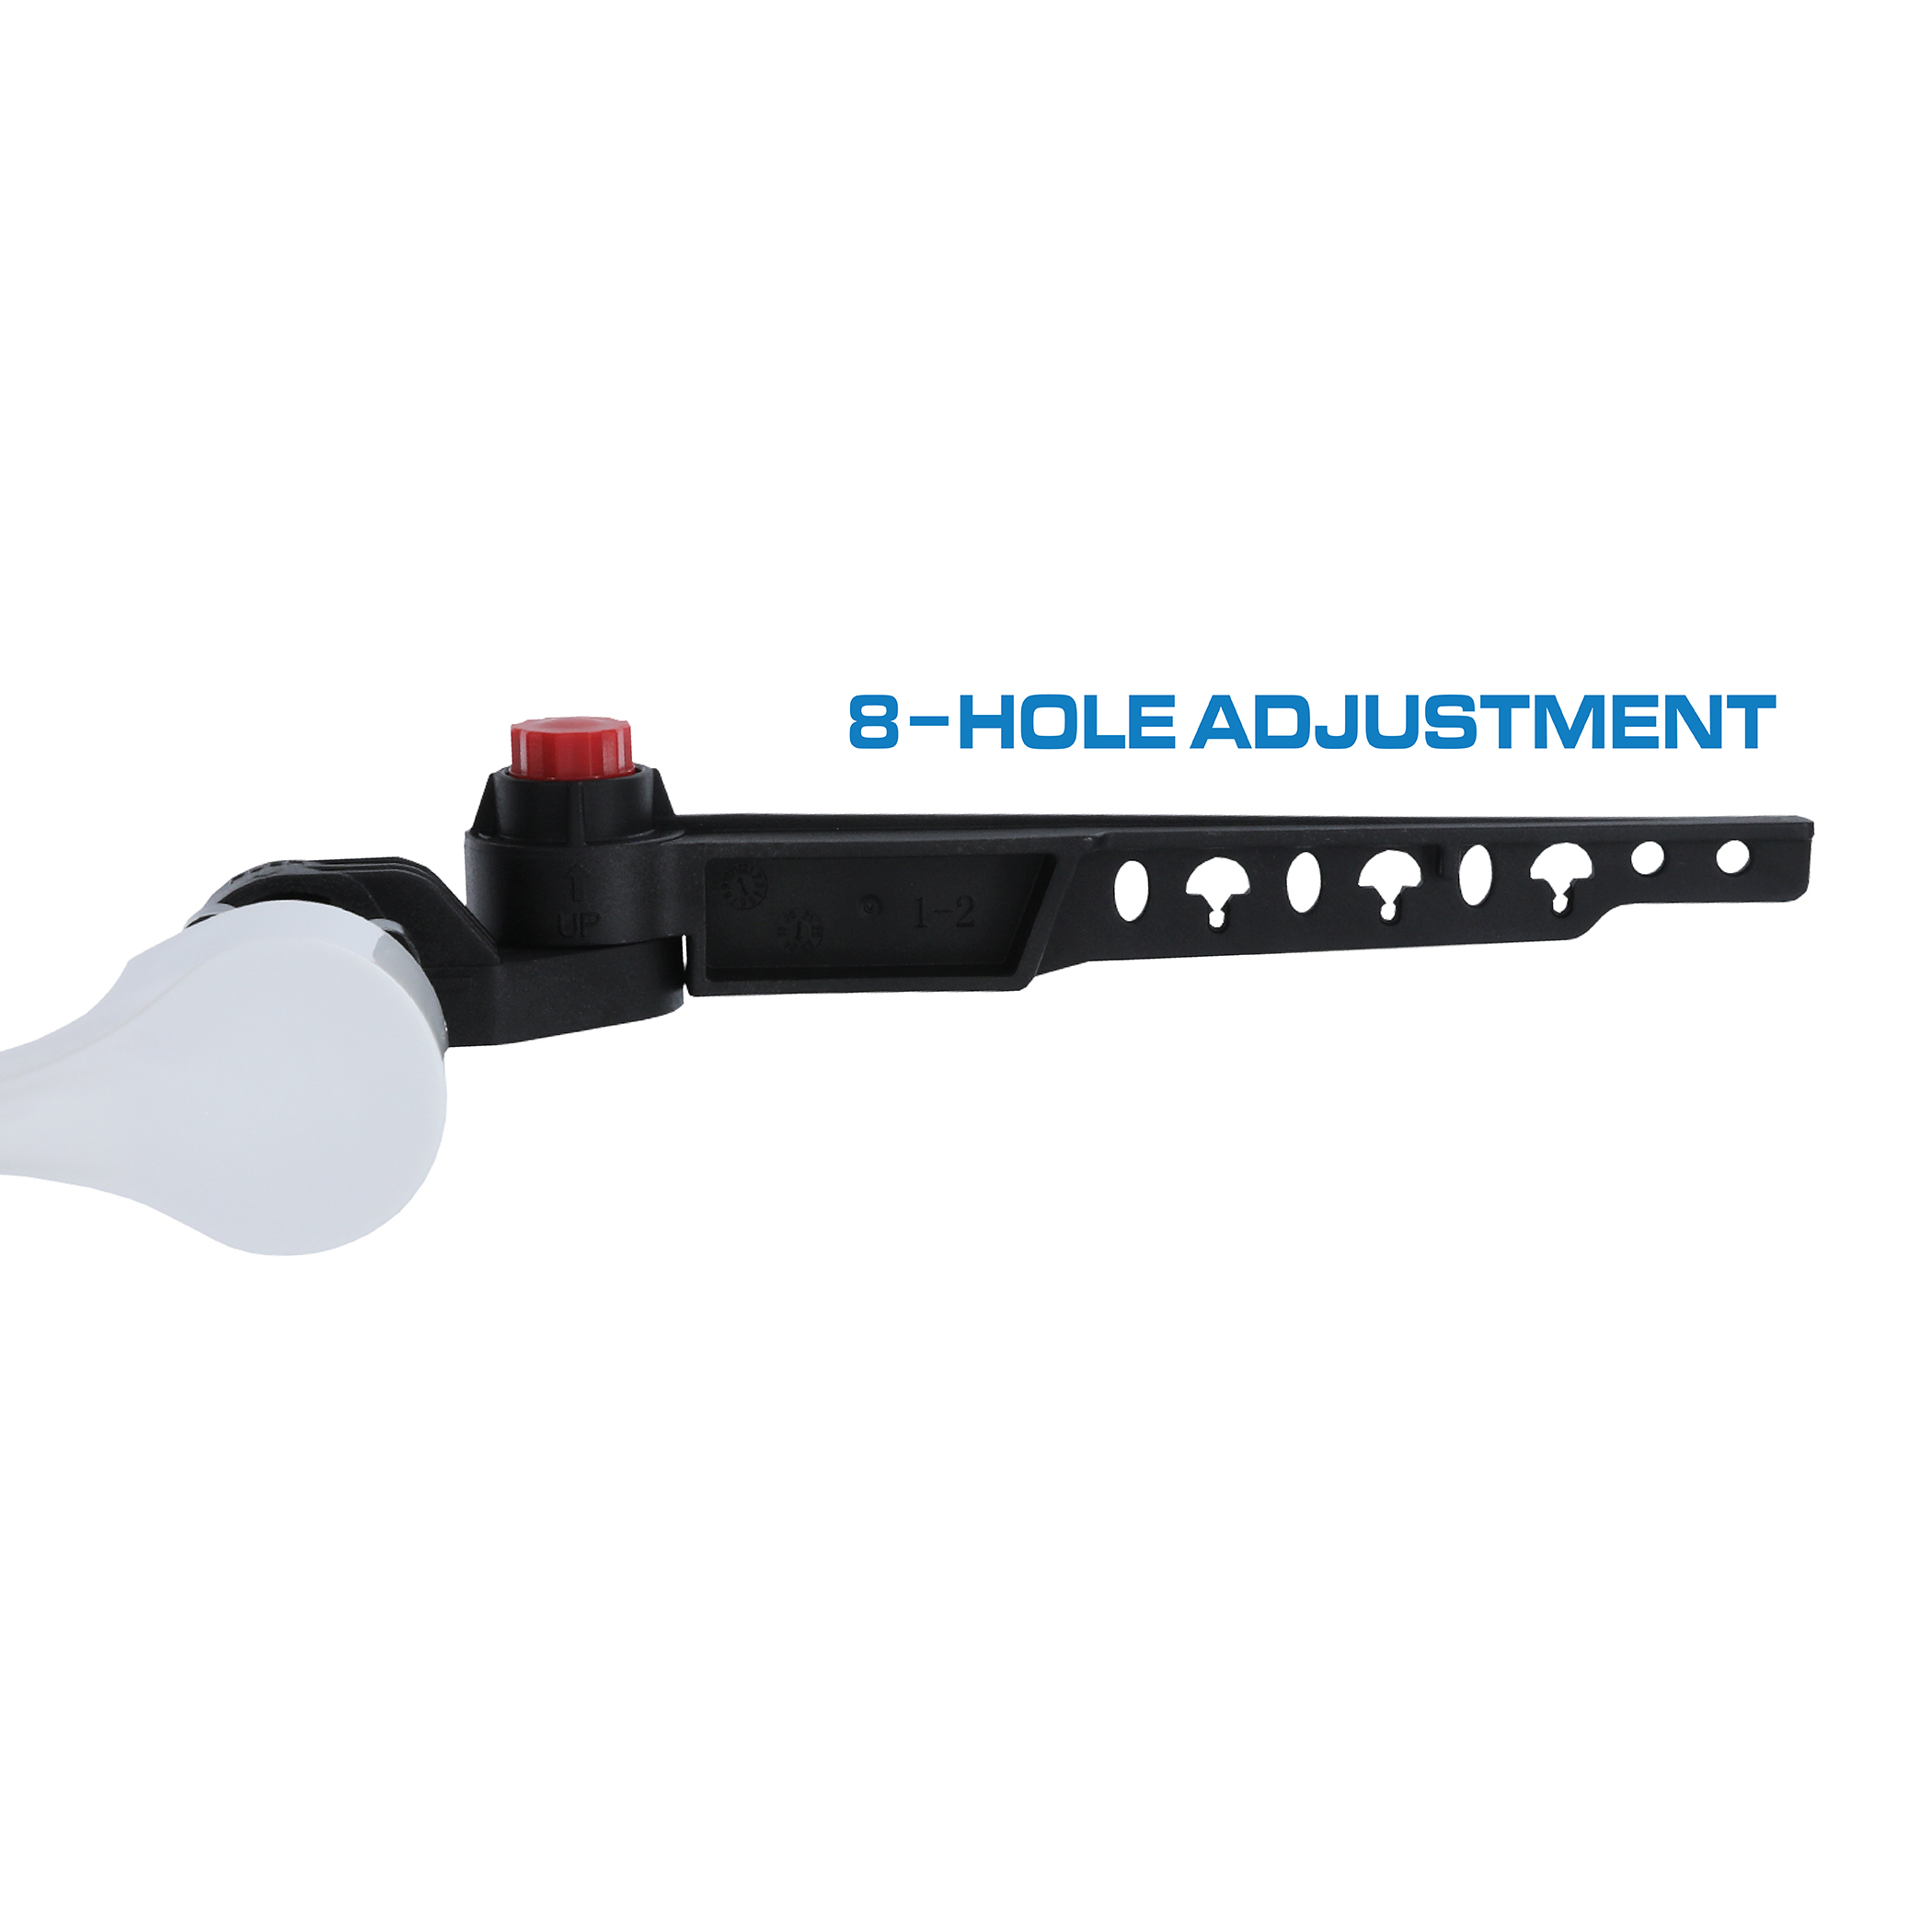 If the arm isn’t in the correct position, adjust it before reconnecting the chain.
The Danco Toilet Tank Lever Replacement Handle lets you move the arm left or right and rotate it up or down. This flexibility is helpful because toilet tank dimensions and internal components vary by model.
Instead of cutting or bending the arm, adjust its position to create the clearance your toilet needs. Press the exterior handle several times to confirm that the lever moves smoothly without touching other components.
Step 7: Reconnect and Adjust the Flapper Chain
Attach the flapper chain to one of the holes in the lever arm.
Proper chain adjustment is essential for a reliable flush. Danco’s installation guidance recommends leaving approximately 1/2 inch of slack while the flapper is closed.
- Too much slack: The lever may not lift the flapper high enough for a complete flush.
- Too little slack: The flapper may not close fully, which can cause the toilet to keep running.
After attaching the chain, make sure the lever arm does not contact the tank lid when it moves.
Step 8: Test the New Toilet Handle
Press the new toilet handle and watch the components inside the tank.
The lever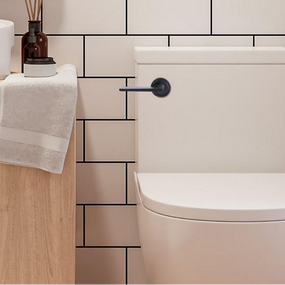 arm should lift the chain smoothly, the flapper should open, and the toilet should flush normally. When you release the handle, the flapper should return to the closed position without the chain interfering with the seal.
Flush the toilet a few times. If needed, make small adjustments to the lever position or chain connection until the toilet flush handle operates smoothly. Once everything is working correctly, carefully replace the tank lid.
Common Toilet Handle Replacement Problems
The New Handle Feels Loose
Check that the locknut is secure, but avoid overtightening it. Also confirm that the handle assembly is seated correctly in the mounting hole.
The Handle Sticks
Make sure the lever arm is not rubbing against the tank wall, fill valve, or lid. Adjust the arm angle or height to create more clearance.
The Toilet Will Not Flush Completely
The flapper chain may have too much slack. Move the chain to a different hole on the lever arm or shorten it slightly so the flapper lifts fully.
The Toilet Keeps Running
The chain may be too tight, preventing the flapper from sealing. Leave about 1/2 inch of slack when the flapper is closed.
A Small DIY Toilet Repair That Makes a Big Difference
Learning how to replace a toilet handle can turn a frustrating bathroom problem into a quick, manageable DIY repair. A replacement may be worthwhile if your toilet handle is sticky, the lever is broken, the trip lever is corroded, the handle is loose, or the finish is outdated.
Choosing an adjustable universal toilet handle can make the project even easier. The Danco Toilet Tank Lever Replacement Handle fits multiple tank configurations and offers several handle and arm adjustments, helping you customize the fit without cutting or bending the lever.
With the arm positioned correctly, the chain adjusted properly, and the handle tested, your toilet can flush smoothly again in just a few steps. For additional help, review the instructions included with your specific product or watch Danco’s toilet handle installation resources.
Frequently Asked Questions About Toilet Handle Replacement
Can I replace a toilet handle myself?
Yes. Replacing a toilet handle is a simple DIY toilet repair that usually requires only a few basic steps. Follow the instructions included with your replacement handle and avoid overtightening the locknut.
Are toilet handles universal?
Not every toilet handle fits every tank configuration. Check whether your handle is front-, side-, angled-, or vertically mounted. An adjustable universal toilet handle can fit several common mounting positions.
Why is my toilet handle loose?
A loose toilet handle may be caused by a locknut that needs tightening or by a worn handle assembly. Remember that many toilet handle locknuts use reverse, or left-hand, threading.
How much slack should a toilet flapper chain have?
Leave approximately 1/2 inch of slack in the flapper chain when the flapper is closed. Too much slack can cause a weak flush, while a chain that is too tight may keep the flapper from sealing.
Why does my new toilet handle stick?
The toilet tank lever may be touching the tank wall, fill valve, tank lid, or another internal component. Adjust the lever arm’s angle or height until it moves freely.
How do I know which replacement toilet handle to buy?
Check the handle’s mounting position, tank design, finish, and product compatibility. A highly adjustable toilet handle replacement can reduce guesswork by fitting multiple tank positions.